

Installing a projector screen on a modern covered pergola kit can transform your outdoor space into an immersive entertainment hub. As a supplier of Modern Covered Pergola Kit, I've had the privilege of helping many customers enhance their outdoor living experiences. In this blog post, I'll guide you through the process of installing a projector screen on your modern covered pergola, ensuring you can enjoy movies, sports, and more under the open sky.
Understanding Your Modern Covered Pergola Kit
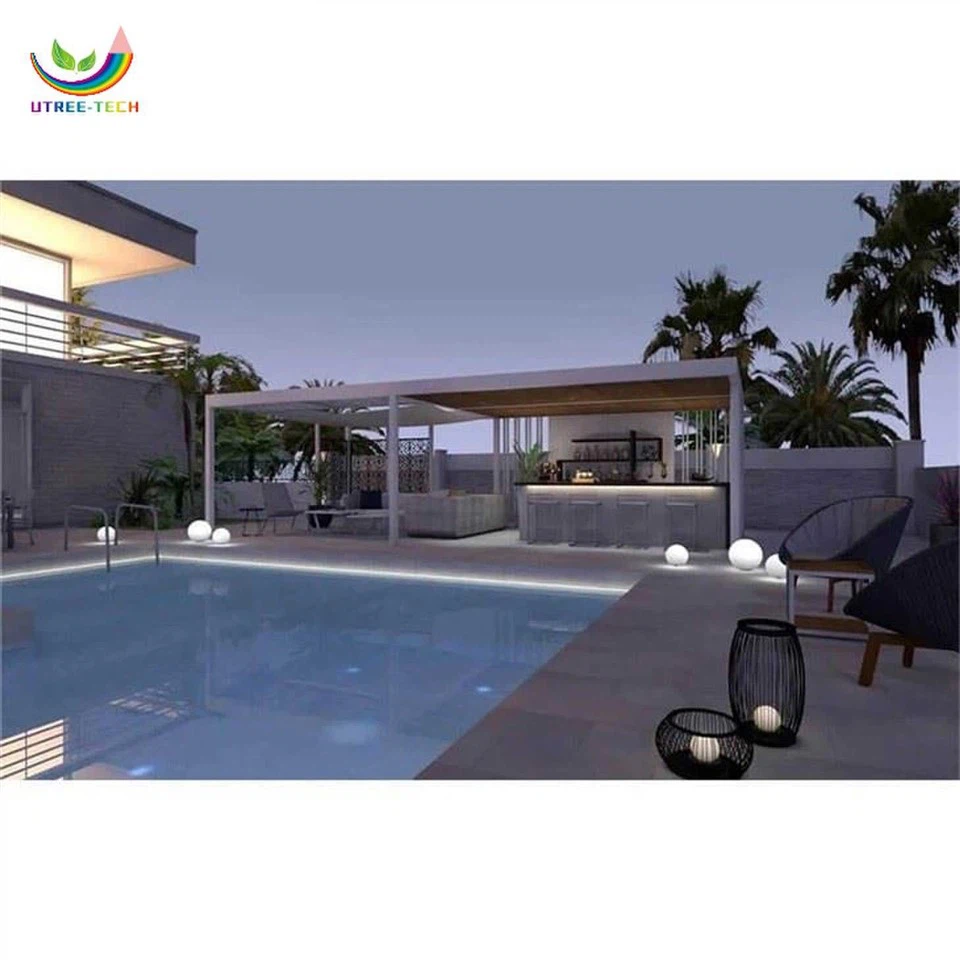
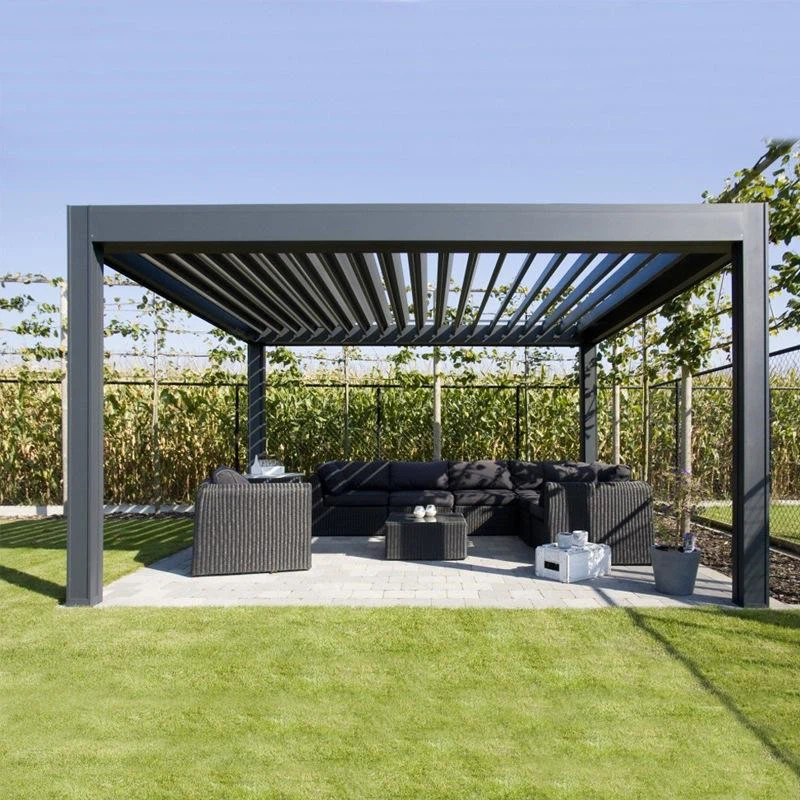
Before you begin the installation process, it's essential to understand the structure and capabilities of your modern covered pergola kit. These kits are designed to provide a sturdy and weather-resistant framework for your outdoor activities. They typically feature a durable aluminum or steel frame, a waterproof canopy, and various accessories for customization.
The Waterproof Pergola Shade is a popular option for modern covered pergolas, offering protection from the sun and rain while adding a stylish touch to your outdoor space. The 3.6 m Aluminum Pergola for A Coffee House is another example of a versatile pergola kit that can be adapted for projector screen installation.
Choosing the Right Projector Screen
Selecting the right projector screen is crucial for achieving optimal image quality and viewing experience. When choosing a screen for your modern covered pergola, consider the following factors:
- Size: Measure the available space on your pergola to determine the appropriate screen size. A larger screen will provide a more immersive viewing experience, but it may also require a more powerful projector.
- Aspect Ratio: Choose a screen with an aspect ratio that matches your projector's output. The most common aspect ratios are 16:9 (widescreen) and 4:3 (standard).
- Gain: The gain of a screen refers to its ability to reflect light. A higher gain screen will produce a brighter image, but it may also have a narrower viewing angle.
- Material: Projector screens are available in a variety of materials, including vinyl, fabric, and fiberglass. Each material has its own advantages and disadvantages, so choose one that suits your needs and budget.
Preparing Your Pergola for Installation
Before installing the projector screen, you'll need to prepare your pergola by ensuring it is level and stable. Follow these steps to prepare your pergola:
- Inspect the Structure: Check the frame of your pergola for any signs of damage or weakness. Repair or replace any damaged components before proceeding with the installation.
- Clean the Surface: Clean the surface of your pergola where the projector screen will be installed. Remove any dirt, debris, or rust to ensure a secure and stable mounting.
- Mark the Mounting Points: Use a measuring tape and a level to mark the mounting points for the projector screen on your pergola. Make sure the marks are level and evenly spaced.
- Drill Pilot Holes: Use a drill to create pilot holes at the marked mounting points. The size of the pilot holes will depend on the type of mounting hardware you'll be using.
Installing the Projector Screen
Once your pergola is prepared, you can begin installing the projector screen. Follow these steps to install the screen:
- Assemble the Screen: If your projector screen comes in multiple pieces, assemble it according to the manufacturer's instructions. Make sure all the components are securely fastened together.
- Attach the Mounting Hardware: Use the appropriate mounting hardware to attach the projector screen to the mounting points on your pergola. Make sure the hardware is tightened securely to prevent the screen from moving or sagging.
- Adjust the Screen: Once the screen is attached, adjust it to ensure it is level and centered. Use a level and a measuring tape to make any necessary adjustments.
- Connect the Projector: Connect the projector to the power source and the audio system. Position the projector in a location where it can project a clear and focused image onto the screen.
- Test the System: Turn on the projector and test the system to ensure it is working properly. Adjust the focus, zoom, and keystone settings as needed to achieve the best image quality.
Additional Tips and Considerations
Here are some additional tips and considerations to keep in mind when installing a projector screen on your modern covered pergola:
- Weather Protection: To protect your projector screen from the elements, consider installing a weatherproof cover or enclosure. This will help prevent damage from rain, snow, and UV rays.
- Ventilation: Make sure your pergola has adequate ventilation to prevent heat and moisture buildup. This will help protect your projector and other electronic equipment from damage.
- Lighting: Consider installing outdoor lighting around your pergola to enhance the viewing experience. This will help create a more comfortable and inviting atmosphere.
- Safety: When installing the projector screen, make sure to follow all safety precautions. Use a sturdy ladder or scaffolding, wear appropriate safety gear, and avoid working in wet or slippery conditions.
Conclusion
Installing a projector screen on a modern covered pergola kit is a great way to enhance your outdoor living experience. By following the steps outlined in this blog post, you can install a projector screen on your pergola quickly and easily, creating a comfortable and inviting entertainment space for you and your family.
If you're interested in purchasing a Modern Covered Pergola Kit or have any questions about projector screen installation, please don't hesitate to contact us. Our team of experts is here to help you choose the right products and provide you with the support and guidance you need to create the perfect outdoor entertainment space.
References
- Manufacturer's instructions for your modern covered pergola kit.
- Manufacturer's instructions for your projector screen.
- Online resources and tutorials for projector screen installation.